第4C部分:XMath滤波器生成脚本
在第4B部分中,使用了lib_xcore_math的数字滤波器API来实现FIR滤波器。第4C部分也使用了FIR滤波器API,但是间接地使用。
除了数字滤波器API外,lib_xcore_math还提供了一组用于将现有的浮点系数数字滤波器转换为与xcore兼容形式的Python脚本,甚至生成可以直接编译到应用程序中的代码。
特别是对于本示例,使用了gen_fir_filter_s32.py脚本,并使用coef.csv作为输入,生成了userFilter.c和userFilter.h。该脚本生成了一个带有名称的滤波器,生成的API中的函数名基于滤波器名称。在本例中,调用�脚本时指定的滤波器名称为"userFilter"。
使用这些脚本生成的滤波器分配和管理自己的内存,因此API调用非常简单。
来自lib_xcore_math
本阶段不直接调用lib_xcore_math中的任何函数,但使用了gen_fir_filter_s32.py滤波器转换脚本。
生成滤波器
本阶段使用的userFilter.c和userFilter.h是作为本教程的便利而提供的。您可以使用gen_fir_filter_s32.py自行生成这些文件。这将需要安装有numpy的Python 3。
> python gen_fir_filter_s32.py -h
usage: gen_fir_filter_s32.py [-h] [--taps TAPS] [--out-dir OUT_DIR] [--input-headroom INPUT_HEADROOM] [--output-headroom OUTPUT_HEADROOM]
                             filter_name filter_coefficients
该脚本需要两个参数:滤波器的名称filter_name,以及包含滤波器系数的.csv文件的路径。滤波器系数必须是浮点值,系数之间用逗号和/或空格分隔。系数的顺序是b[0],b[1],b[2]等。
要生成滤波器,请从工作区根目录开始:
cd xmath_walkthrough/src/stage11
python ../../lib_xcore_math/lib_xcore_math/script/gen_fir_filter_s32.py --taps 1024 userFilter coef.csv
输出应类似于以下内容:
workspace/xmath_walkthrough/src/part4C> python ../../lib_xcore_math/lib_xcore_math/script/gen_fir_filter_s32.py --taps 1024 userFilter coef.csv
Filter tap count: 1024
Files to be written:
  ./userFilter.h
  ./userFilter.c
--taps选项用于确保转换后的滤波器具有预期的滤波器系数数量。
实现
第4C部分中的rx_frame()和tx_frame()与第4B部分中的相同。第4C部分还包括两个额外的文件userFilter.h和userFilter.c,这些文件是由滤波器转换脚本生成的。这些文件被设计为不透明的,但非常简单,所以可以随意查看。
/**
 * This is the thread entry point for the hardware thread which will actually
 * be applying the FIR filter.
 *
 * `c_audio` is the channel over which PCM audio data is exchanged with tile[0].
 */
void filter_task(
    chanend_t c_audio)
{
  // This buffer is where input/output samples will be placed.
  int32_t sample_buffer[FRAME_SIZE] = {0};

  // Initialize userFilter. userFilter allocates and manages its own buffers and
  // filter object, so no buffer needs to be supplied.
  userFilter_init();

  // If userFilter_exp_diff is not 0, the results will be wrong.
  assert(userFilter_exp_diff == 0);

  // Loop forever
  while(1) {

    // Read in a new frame
    rx_frame(&sample_buffer[0],
             c_audio);

    // Compute FRAME_SIZE output samples.
    for(int s = 0; s < FRAME_SIZE; s++){
      timer_start(TIMING_SAMPLE);
      // userFilter() is the generated function to add a new input sample and get
      // back the filtered result.
      sample_buffer[s] = userFilter(sample_buffer[s]);
      timer_stop(TIMING_SAMPLE);
    }

    // Send out the processed frame
    tx_frame(c_audio,
             &sample_buffer[0]);
  }
}
我们可以看到,这只是第10阶段中filter_task()的简化版本。在这里,我们不需要手动声明状态并显式初始化filter_fir_s32_t对象,而是调用生成的函数userFilter_init()(来自userFilter.h)来为我们初始化所有内容。然后,我们不再调用filter_fir_s32()来获取新的输出样本,而是使用我们的新输入样本调用userFilter()。
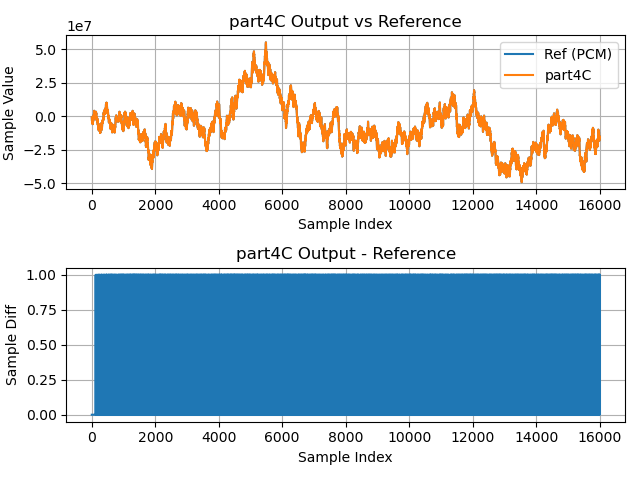
结果
时间
| 时间类型 | 测量时间 |
|---|---|
| 每个滤波器系数 | 4.81 ns |
| 每个输出样本 | 4920.95 ns |
| 每帧 | 1311088.12 ns |
输出波形